I went shopping at the Whole Foods at Cambie and 8th in Vancouver this past week - always a treat since it's so expensive there! My favourite part of that store is the bulk foods area - they always have really different and interesting grains and legumes. I make a point of getting at least one or two new types that I haven't tried each time I go there. The nice thing about buying bulk, dry grains and legumes is that even though Whole Foods is expensive, stuff like that is still pretty reasonable in price. Way cheaper than buying meat, that's for sure!
This time around I thought I'd buy black quinoa and black-eyed peas, neither of which I have ever tried. Both just looked interesting. Later on when looking for inspiration on what to do with the black-eyed peas, I also found out that in the Southern US, eating black-eyed peas on New Years Day helps give prosperity throughout the new year. I'm a few days late, but I figure it can't hurt!
This recipe was inspired by Laura McAllister's Szechuan Black-Eyed Pea Salad recipe, but I decided I needed more grain in the salad to make it a complete meal and not just a side. I also didn't have a few of the ingredients she used, so I substituted and improvised. The result was a very tasty "salad" that can be served warm or cold.
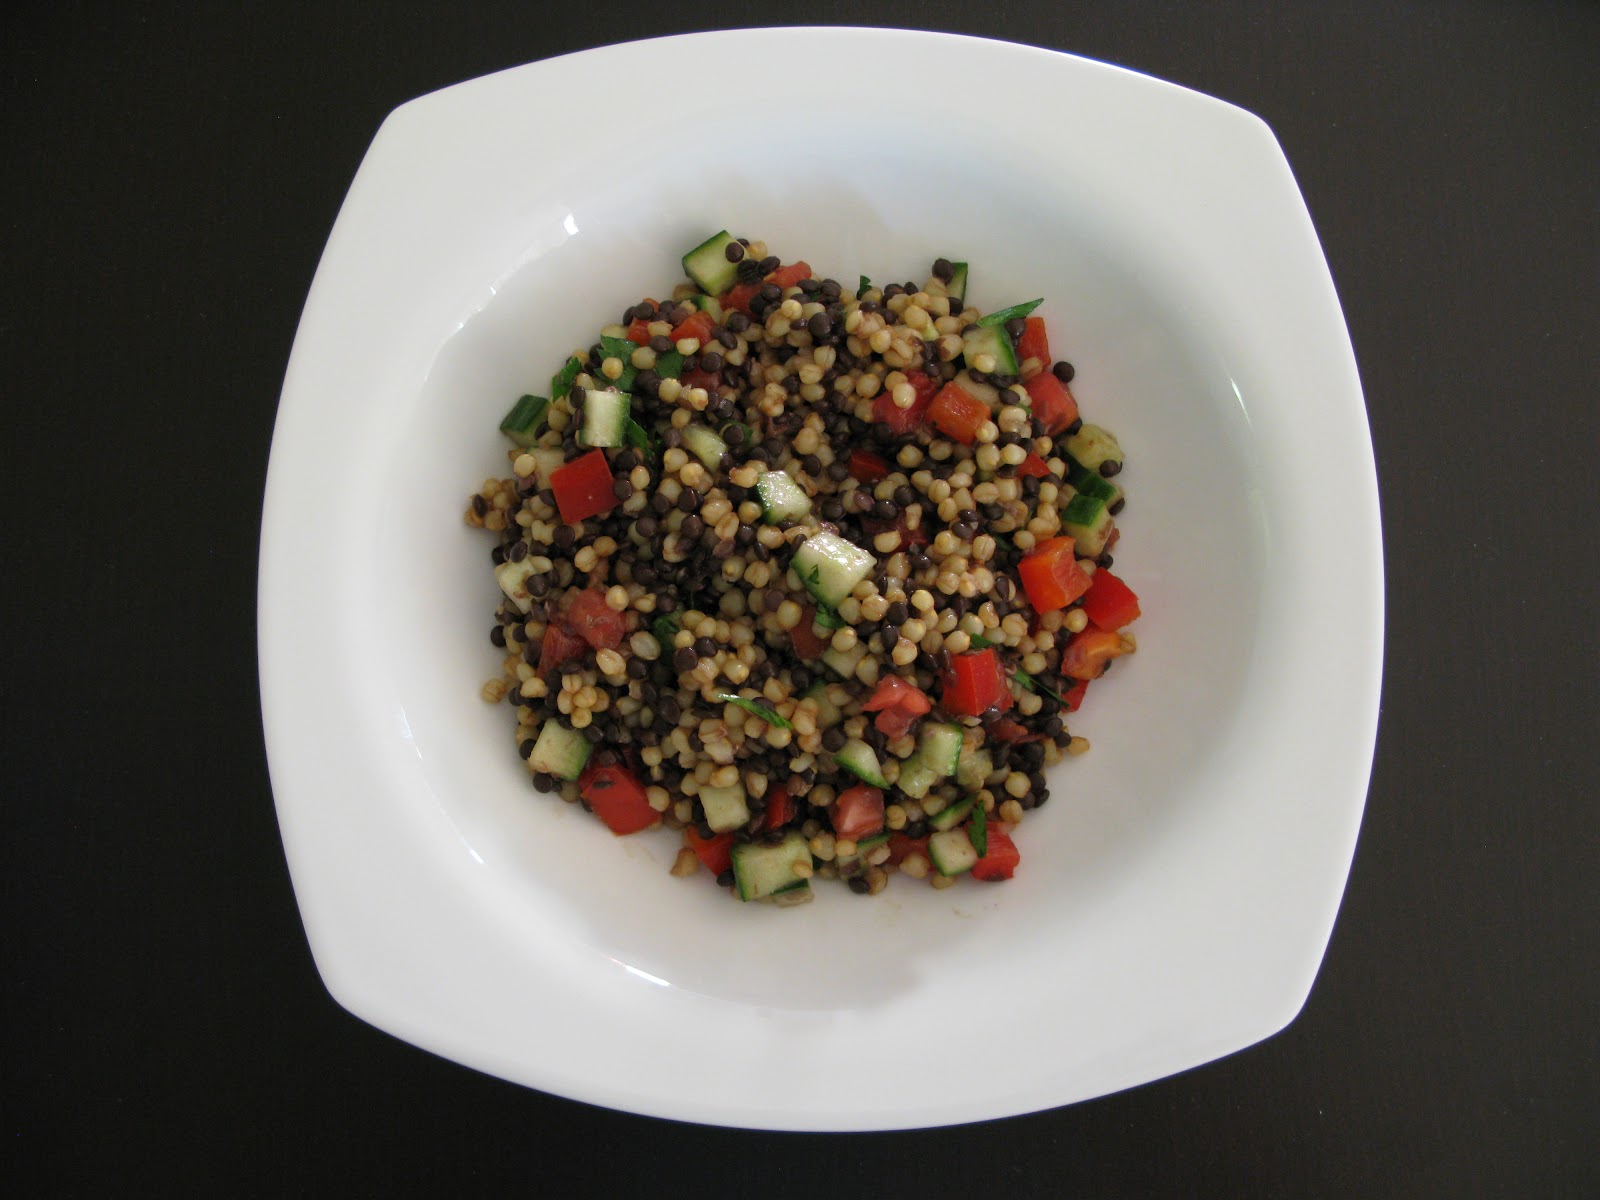
Black-Eyed Pea Quinoa Salad
Yield: 4 meal-sized servings
Ingredients:
1 cup (250 ml) black quinoa (or any other variety)
2 cups (500 ml) water
2 cups (500 ml) cooked black–eyed peas
1 medium green bell pepper, diced
1 clove garlic, minced
1 Tbsp (15 ml) Earth Balance margarine
2 avocados, cubed
2 Tbsp (30 ml) lemon juice
3 Tbsp (45 ml) olive oil
3 Tbsp (45 ml) white wine vinegar
2 Tbsp (30 ml) gluten-free tamari (or soy sauce)
2 tsp (10 ml) sugar
1/8 tsp (0.5 ml) cayenne pepper
Method:
1) Rinse quinoa and put into a pot with 2 cups of water. Cover and bring to a boil. Reduce heat and let simmer for about 20 minutes. Remove from heat, let sit for 5 minutes, then fluff with a fork.
2) Saute garlic and green pepper in margarine for a few minutes, until slightly softened. (You could skip this step if you'd prefer raw garlic and pepper.)
3) Toss cubed avocado with the lemon juice.
4) Combine cooked quinoa, cooked black-eyed peas, green pepper, garlic, and avocado in a large bowl.
5) Using the same bowl that you stirred the avocado and lemon juice in (that's now empty), whisk together olive oil, white wine vinegar, tamari, sugar, and cayenne.
6) Pour dressing over the salad and toss to combine.
7) Serve immediately for a warm salad, or refrigerate and serve cold.

This was quite tasty! Just a slight hint of spiciness from the cayenne, which you could adjust to your preference. The textures were nice and varied - the avocados and peas providing a luxurious creaminess, while the quinoa and bell pepper gave it a bit of a crunch too. If you use the gluten-free tamari rather than traditional soy sauce, then this is also a gluten-free dish!
Happy New Year, and good luck with back-to-school for all the teachers and students out there!